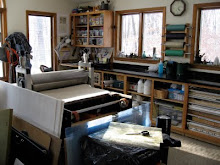
Today I finished making film positives for the rest of my sketches.
 |
| Positives on light box. |
Feeling a little cocky after yesterdays successful plate making I decided to lay several positives on one larger sheet of Solarplate and expose them all at once. I know I was taking a chance but I was pretty confident that the exposure and wash-out times would work for all of
the images.
 |
| Processed Solarplate with multiple images. |
Once the plate was dried and cured, I carefully cut each plate to size. The advantage to doing it this way was that it made it much easier to work with the tiny compositions on one large plate, as opposed to doing them individually. Of course, it saved time as well; just two exposures.
These are my favorites from today's session. (Please excuse the quality of the photos which were taken quickly at the end of the day's printing.)
 |
| Jam |
This one measures 2" X 2". There's so much information crammed into such a small space that it actually feels larger than it actually is.
 |
| Jewel |
This one's 1"x 4". I have a series of rock studies that I did while at the beach when we were re-doing the dune after super storm Sandy. I liked this one little slice and decided to hit the one tiny rock in the center with a bit of watercolor.
 |
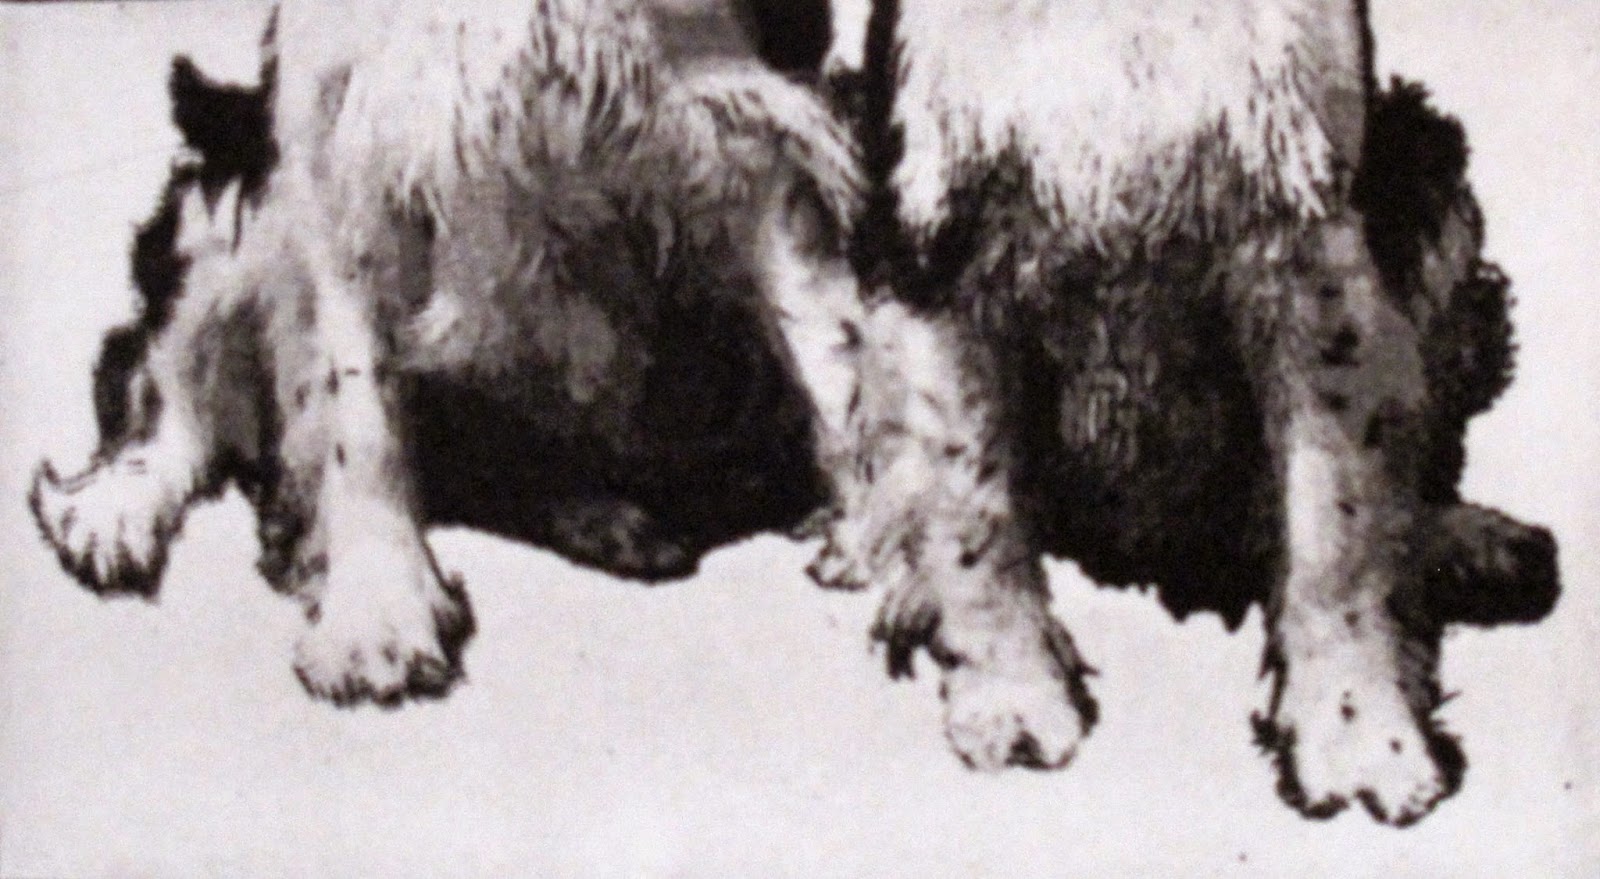
| Standing Spaniel |
|
|
Another 2" square print from my Springer series. The last two I did of the dogs were roughly 14" x 16" so I thought it would be interesting to see what I could come up with in miniature. I like this composition a lot.
There's an unfortunate light streak across the background, probably from when I squeegeed the plate off when I finished developing it. It kind of looks like he's standing up to pee.
 |
| Sit. Stay. |
Simple composition with no background. Again, I think it works in this case. This measures 2.75" x 1.5".
Yesterdays favorites are below.
 |
| Sutured |
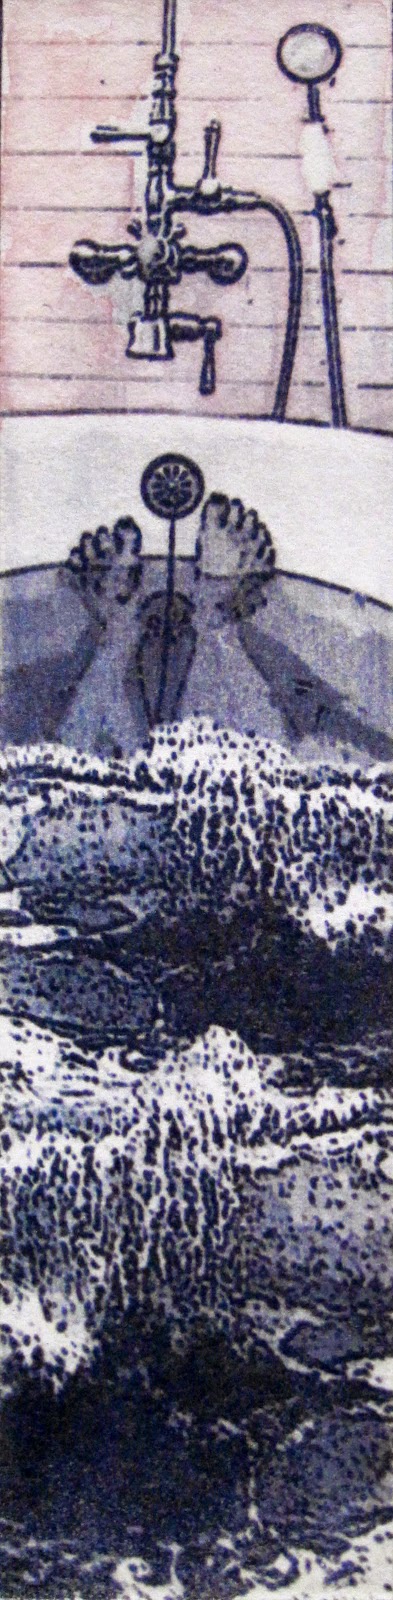 |
| Long bath |
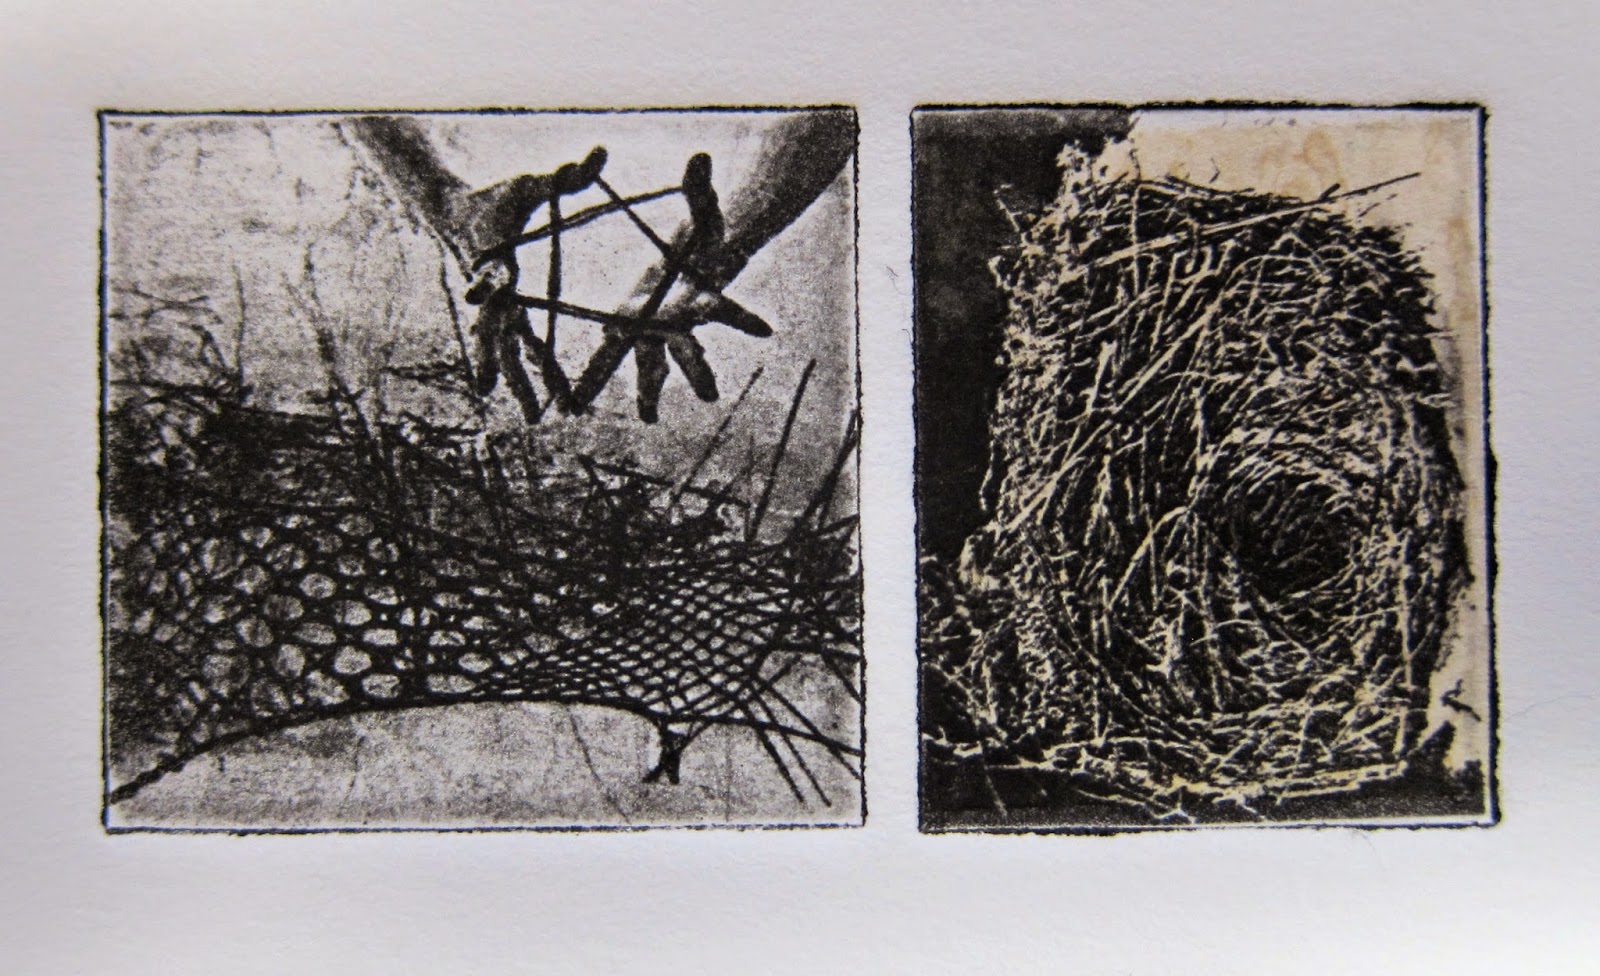 |
| Cradle |
I played around with adding machine stitching to this piece and I like it much better than the hand stitching I tried yesterday. I need to be patient and wait until the prints are dry though or the machine's foot smudges the print as seen here around the nest section.
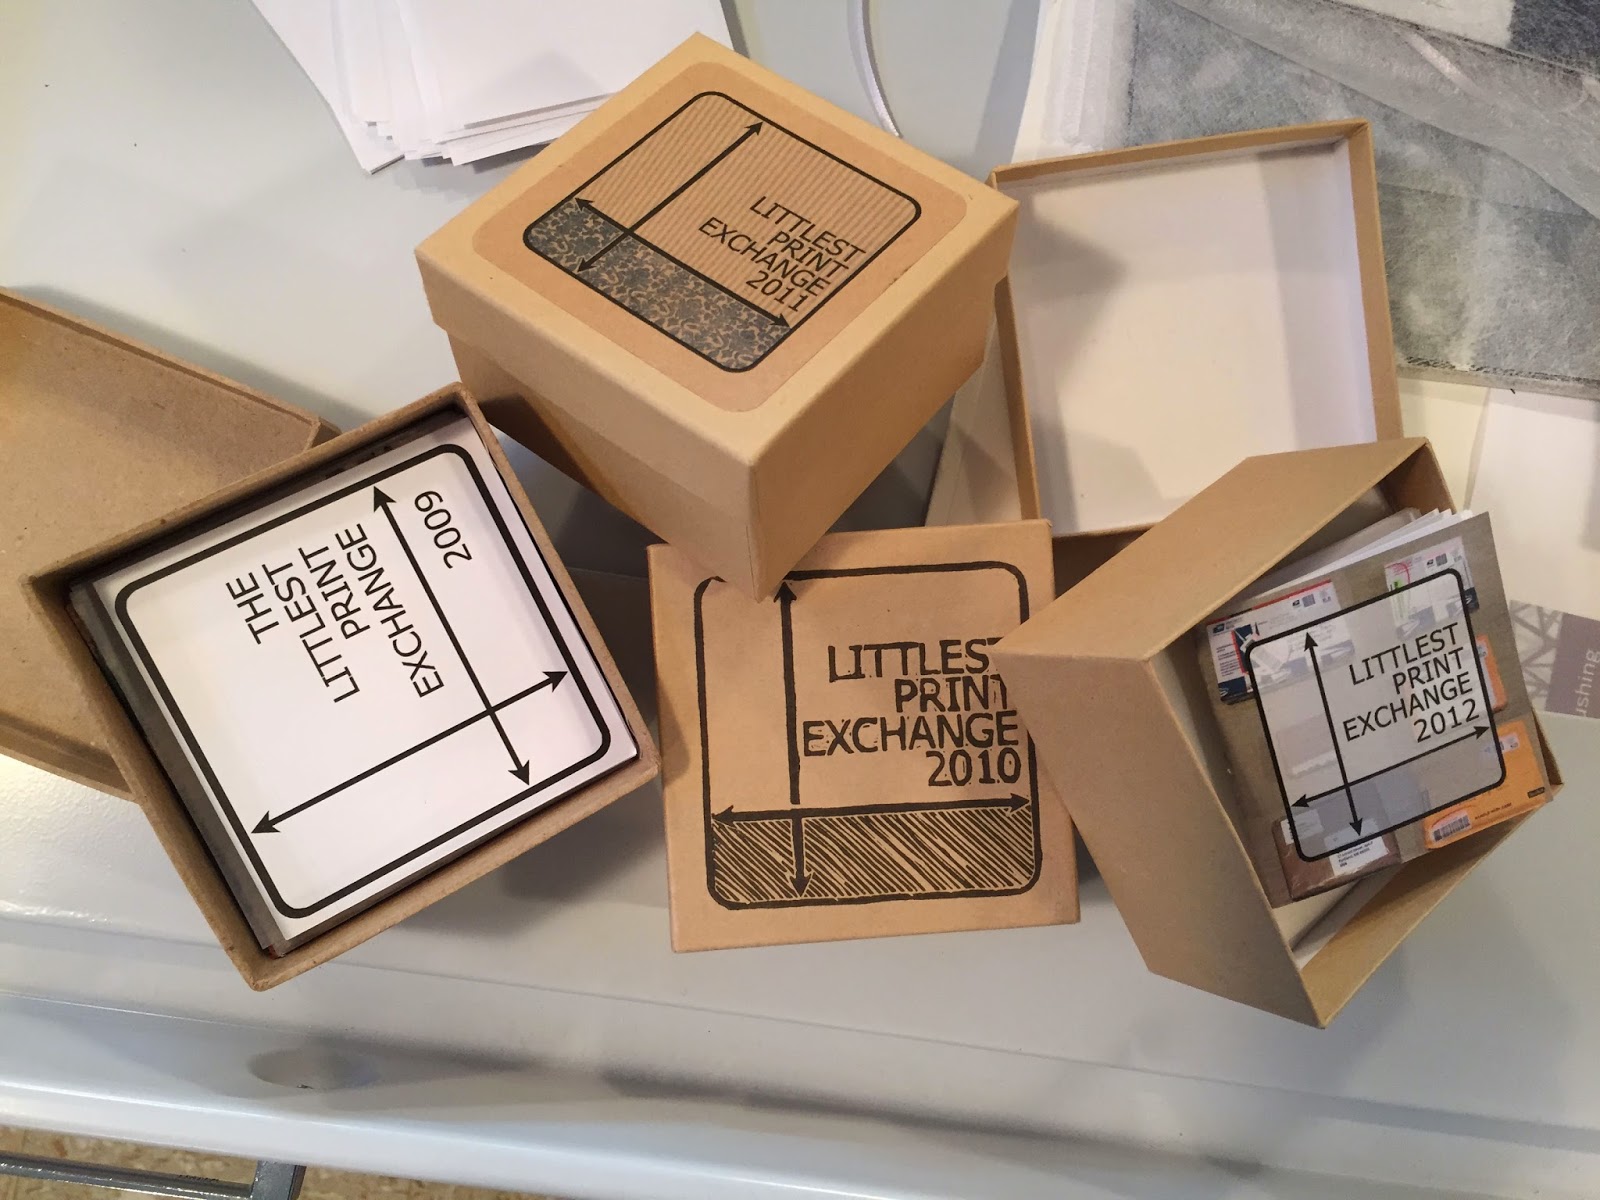
Now I have to decide which three to send to the miniature print competition. With the exception of the dogs, the prints are all so different. Is it better to send a variety or a series of related pieces? If I go in that direction, I'll need to come up with a few more pieces. What to do, what to do?
I'll have a bit of time to think about it because tomorrow it's back to mundane chores and holiday preparations.